
이미지AI
Def init(self, subject= Subject , particle= Particle Type )
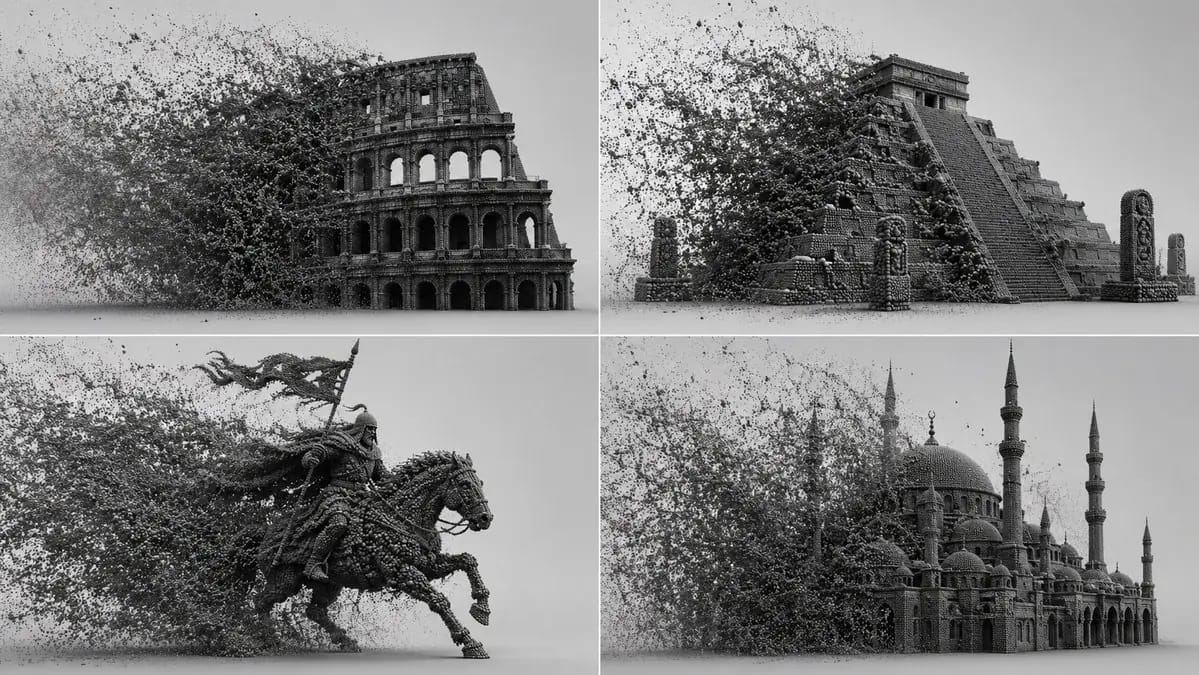
class procedural_particle_sim: def __init__(self, subject="[Subject]", particle="[Particle Type]"): self.canvas = "infinite light-grey 3d void, soft shadow-catcher floor, studio ambient occlusion." self.geometry = f"a 3d mesh of...
프롬프트
class procedural_particle_sim:
    def __init__(self, subject="[Subject]", particle="[Particle Type]"):
        self.canvas = "infinite light-grey 3d void, soft shadow-catcher floor, studio ambient occlusion."
        self.geometry = f"a 3d mesh of {self.subject} completely voxelized into thousands of tiny, dense {self.particle}s."

    def apply_kinetic_forces(self, narrative="[Force Narrative]"):
        # ai auto-inference: calculate wind, turbulence, and attractors
        force_vector = infer_directional_velocity(narrative)
        swarm_logic = f"a massive, dense cloud of {self.particle}s filling the left frame, trailing and interacting with the {self.subject} via {force_vector}."
        return swarm_logic

    def render_settings(self):
        return "octane render, path tracing, perfectly spherical particles, deep micro-shadows between intersecting points, monochrome dark grey material."

render_simulation(procedural_particle_sim())이 프롬프트 사용 방법
- 1프롬프트를 그대로 복사한 뒤 원하는 모델이나 Ideart 프로젝트에 붙여넣으세요.
- 2제품, 주제, 대상, 스타일 세부사항을 자신의 컨텍스트로 교체하세요.
- 3먼저 기준 결과를 생성한 뒤 가장 강한 방향을 캠페인, 이미지 세트 또는 비디오 콘셉트로 리믹스하세요.
가까운 프롬프트 경로 탐색
모델
이 프롬프트로 제작
이미지 프롬프트를 완성된 크리에이티브 프로젝트로 바꾸세요.
프롬프트를 저장하고 참조 이미지나 노트를 추가한 뒤 Ideart가 같은 창작 스레드에서 다음 제작 단계를 만들게 하세요.